For those with newer TJs that are considering doing a pair of rear LED tail lights, be aware of DC’s decision to place an evaporation canister in the passenger side rear quarter panel area. This really cramps the space available to drop in a LED lamp assembly. One option is to move the evap canister a bit and provide some elbow room for the light. Dave Warden was enough to share his evap canister relocation project so that all could benefit from his efforts. Thanks Dave for the good pics and comments. I’m sure many will appreciate the time you spent. So, here is Dave’s write-up!
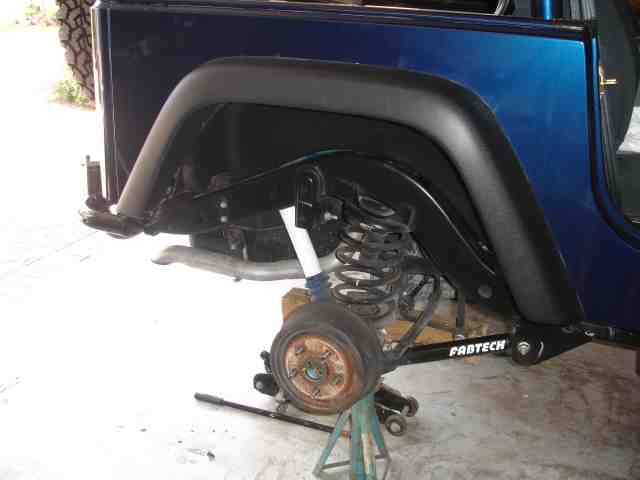
Before beginning the Evap Canister Relocation, I went ahead and removed the passenger rear tire for easier access and I also went ahead and just pulled back the black plastic fender well covering.
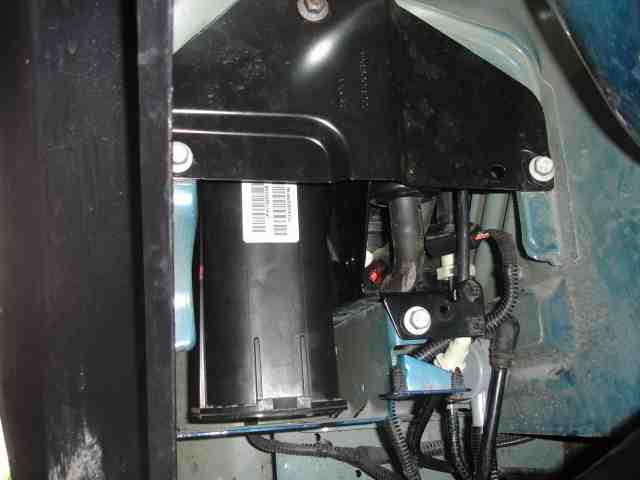
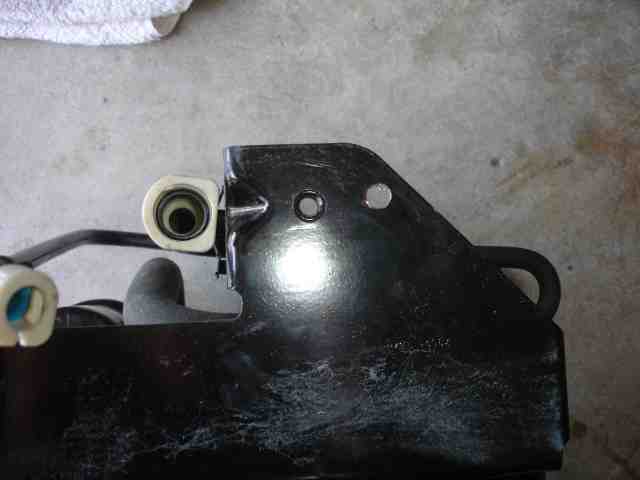
There is a black plate that blocks the evap can from the tire and is held on by 2 bolts and 1 nut. Go ahead and pull those off and remove the plate completely.
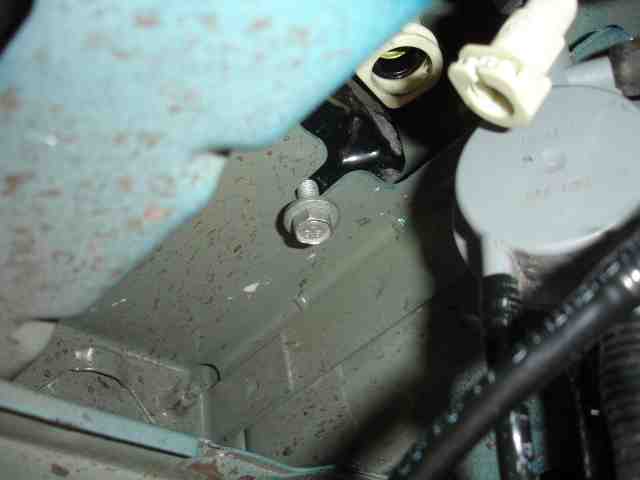
Remove the front bolt holding the evap canister on and the bolt just below it on the right side.
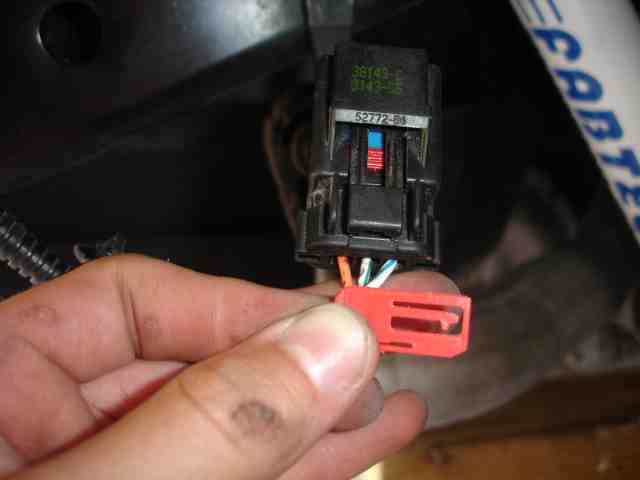
Disconnect the wire harness (slide out the red pin and squeeze the clip to remove).
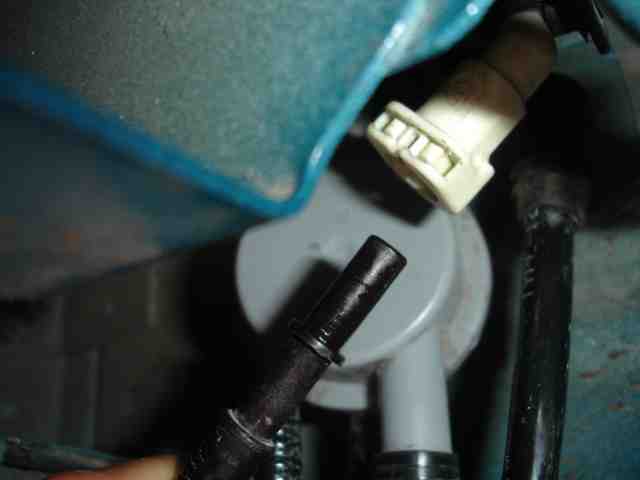
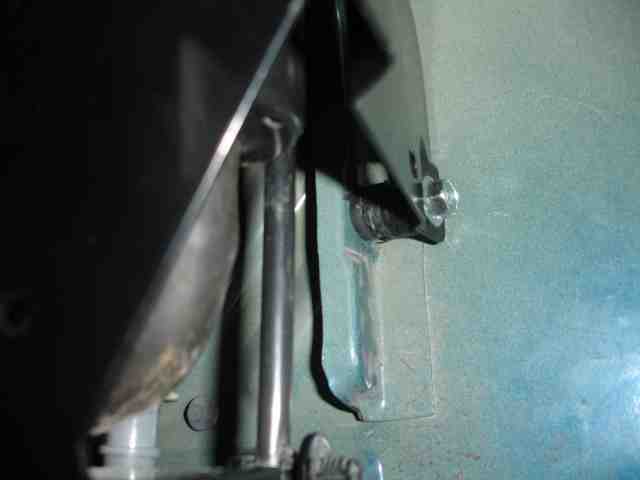
You will also need to remove the hose (unclip the white clip on the hose and it will pop right off).
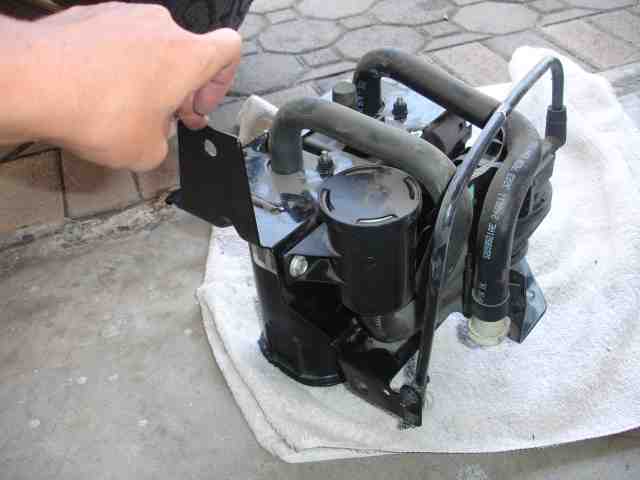
The evap canister can now be removed so go ahead and slide it out and tuck the wire harness and hose out of the way.
Evap Canister Relocation
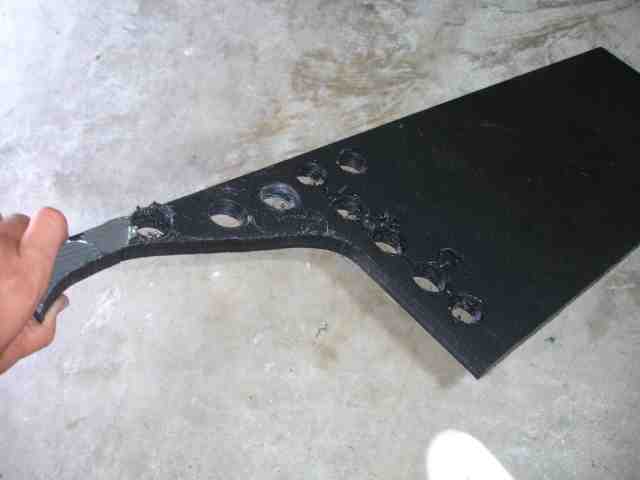
Ok, now you can begin the actual “spacing”. I used 1/2″ thick Marine Star Board and a 3/4″ hole saw to cut out the pieces.
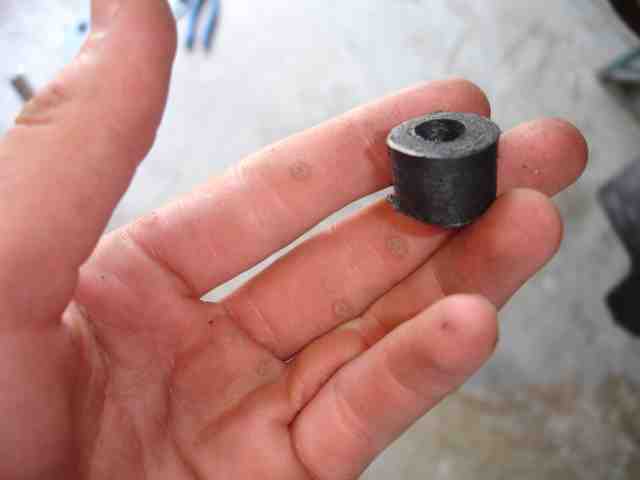
You will need 8 of them so go ahead and chop them out and bench grind them till there fairly smooth and round.
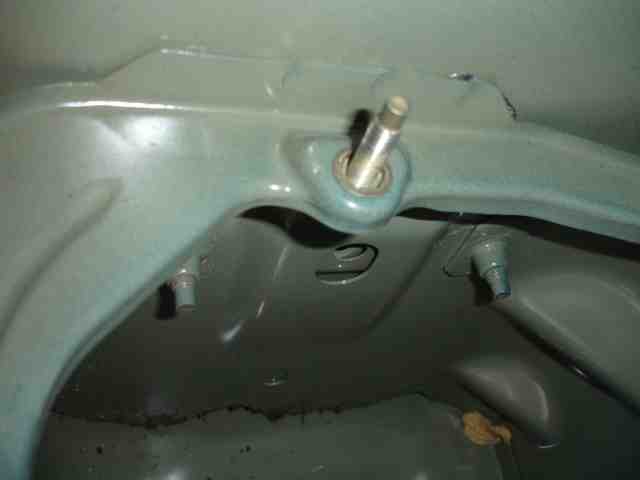
Now since the can will be spaced out 1″ the stock bolts obviously won’t be long enough, luckily the bolt where the single nut goes on is just long enough to be able to use so don’t worry about extending that one. The lower slot on the right side is long enough to space out so no problem there.
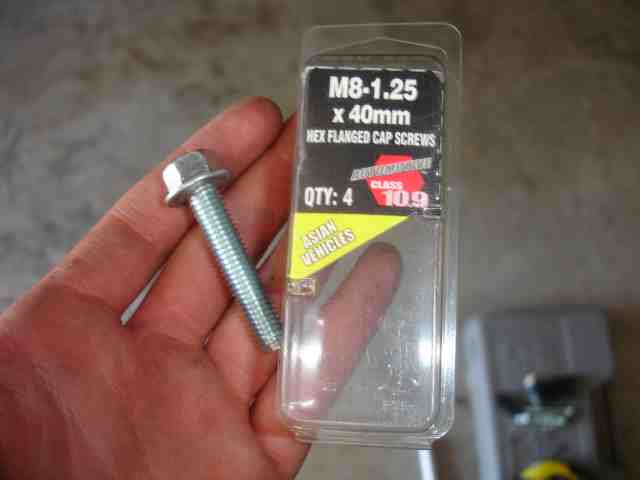
OK for bolts I went to my local Advanced Auto Parts and picked up three M8-1.25x40mm Hex Flanged Cap Screws. (I also used one M8-1.25x40mm bolt that was one inch longer to tie the plate and can together).
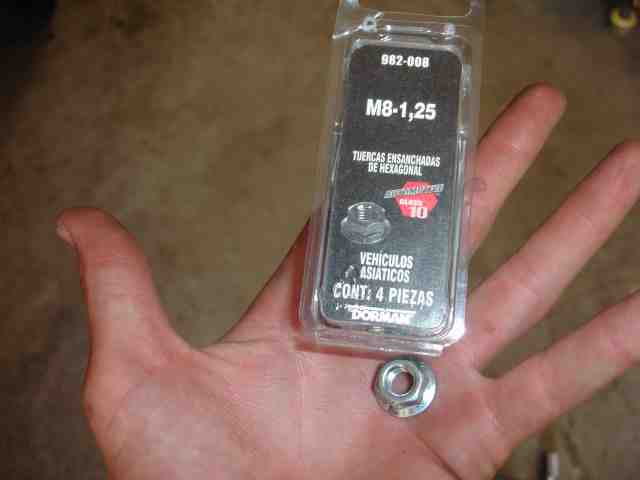
Last you will also need one M8 Nut for the slot where the can bolts to the bracket on the body.
At that mounting point on the evap canister, you will need to re-drill that hole 1″ forward.
Now that you have all the needed hardware, go ahead and place the evap canister back in. Re-connect your lines and place your spacers (two on each bolt). Two spacers will go on each bolt that mounts through the bracket and onto the frame and then two spacers will go on the bolt that’s on the bracket and goes through the evap canister and cover plate.

Congrats. You have now finished the install.
If you have any questions please feel free to email me at [email protected]