Anyone who has a 1997 to 2006 Jeep TJ that has had some sort of modification to the transfer case position in relationship to the tub needs to deal with the stock linkage. This means when you have a belly-up, body lift, transfer case drop, motor mount lift, etc. you will have some linkage issues.
When the stock Z-bar shifting linkage gets out of alignment many things can happen including binding, thumping, falling apart and popping out of gear. The last can be alarming and dangerous. Mine let go after a wheeling scare and totally ruined me for the rest of the day.
There are several ways we can take care of these problems. Believe me, some are better than others. I know Stu has chronicled the stock modified version on this site a few times and I know one is in his AW-4 swap write-up when he made up for the longer drive train.
Using stock linkage and Novak linkage type shifter:
The main idea here is to keep the cross shaft for the Z-bar straight and level to the ground. The tub side of the linkage support must be modified in a way that the shaft can insert into the bracket in the correct place. This might mean drilling a plate and lowering / raising / moving forward / moving back so the tub bracket’s hole will match the transfer case position.
This modification sometimes works well but it was not a happy one for my jeep which is why I installed the older version of the Novak shifter. There have been a few different versions of this linkage / cane type shifter and it has been improved over the years. Novak was kind enough to update their old shifter for me as we found problems.
I used this shifter for a few years and was never completely satisfied with it for some reason. I knew there should be something better and that is where we are today.
Novak Cable Shifter:
This shifter is simple and effective. It is easy to install and is a vast improvement over whatever I have tried in the past.
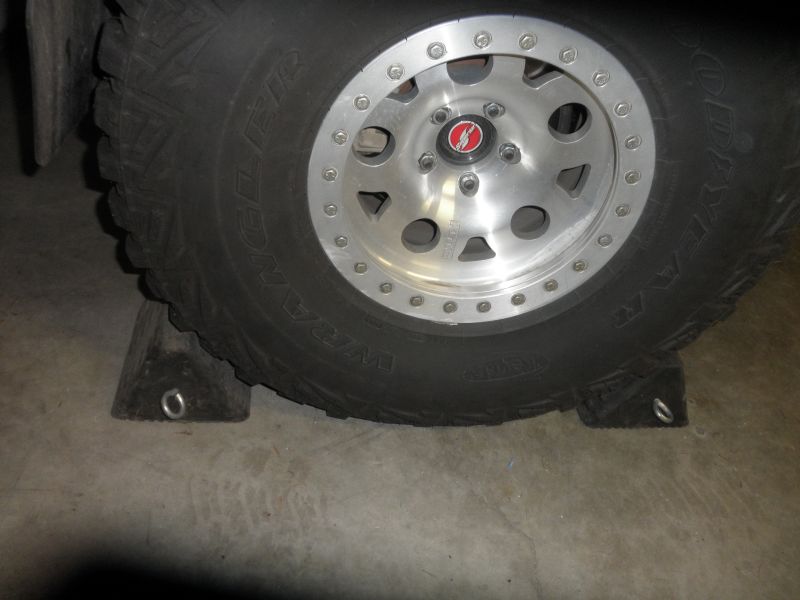
Remember that you really should chock the tires as you may be shifting through the gears as the install goes along. Any safety precautions should be taken at this time to prevent injury.
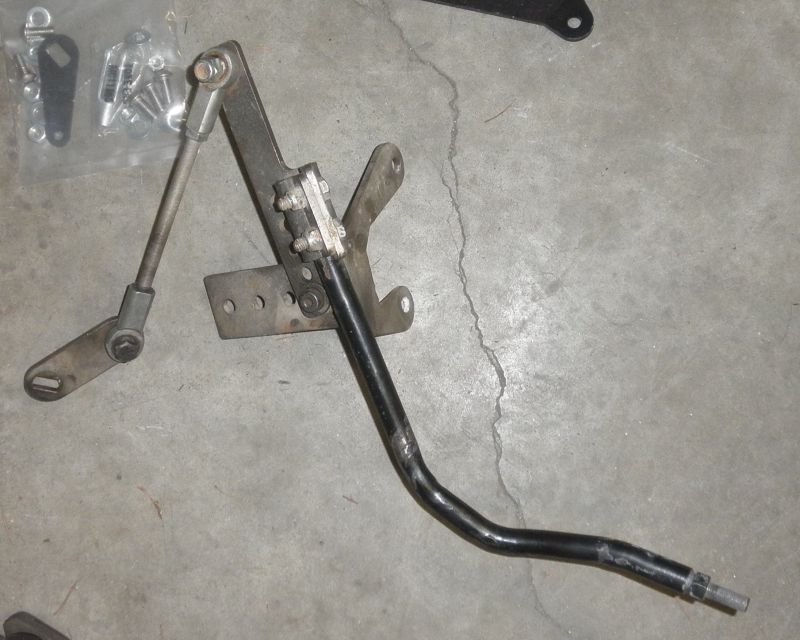
Here is the old Novak linkage type shifter that I removed. (the aluminum shifter knob and rubber boot not shown). If you are familiar with Novak shifters, you will notice that it does not look exactly like their newer style or the old style. This one has parts from both.
The install is a little tricky because the cane must be heated up and bent to your liking. I made the mistake of quenching mine and that thick rod snapped in half on the trail. Lessons learned. Let your cane air cool.
On a side note, I have some Jeepin’ buddies who are perfectly satisfied with the shifter pictured above.
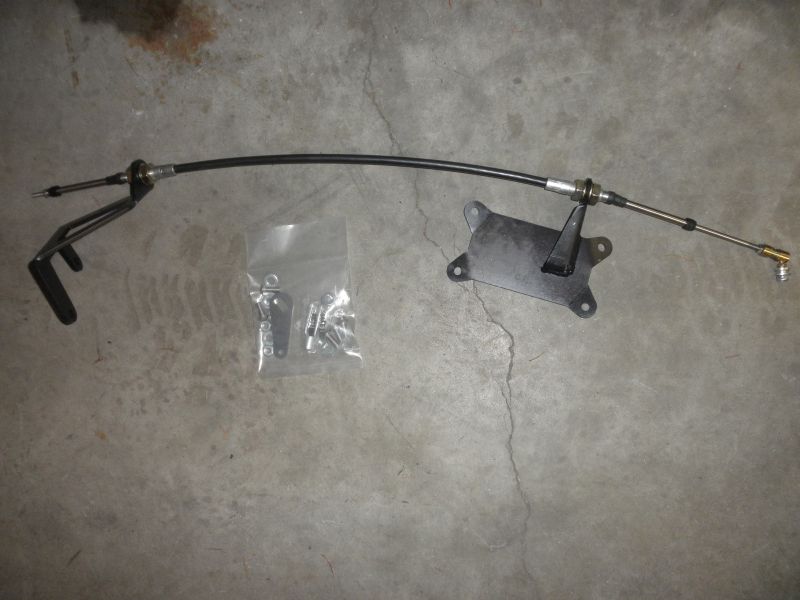
This is the Novak cable shifter as it came packaged complete with instructions and a few parts including replacement bolts for the tub side of the install. You will have to take the brackets off the cable before the install for a couple reasons….one of them being that a bracket is on backwards in this picture.
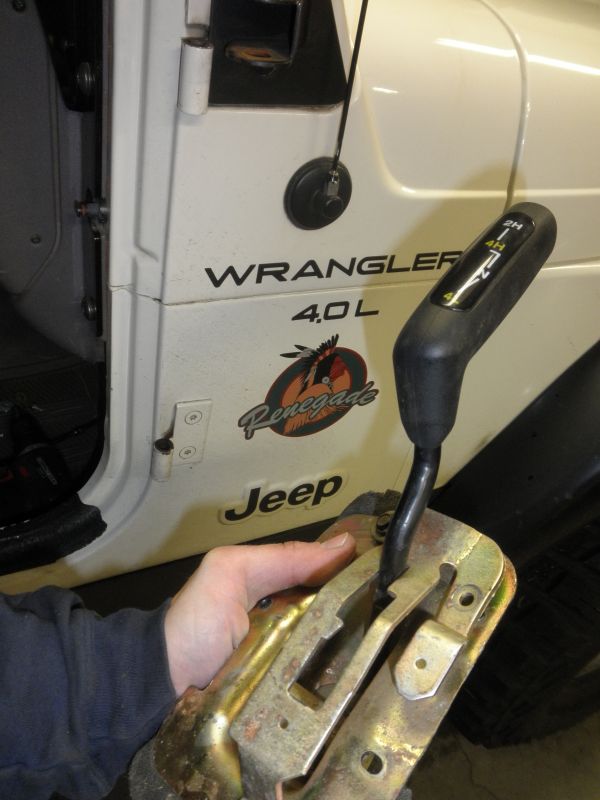
One thing I had to do was find my old shift lever. This did not go exactly as planned as I thought I would never need it again. The funny thing is that it was tossed in the trash after getting in my way for a few years. Thankfully my dad kept his and it now lives in my jeep.
Novak Cable Shifter for the NP231 Transfer Case

Okay, the brackets are now installed. The stock floor shifter is back in place. Way back I removed some metal to make the rubber boot fit better for the old Novak linkage type. Eventually I will weld in some more metal, for now it is firmly in place and sealed up nicely as ugly as it is from underneath. You will not need the rubber bushing in the shifter’s lever, it was easy to cut out with a utility knife.
I should take a moment and tell you to remove your driveshaft. It makes the install much easier. The instructions claim that you can do it with the shaft in place but why deal with such a tight space if you don’t have to. Unless of course you have “girly-man” hands and make a living doing moisturizing commercials. This is not how I make a living.
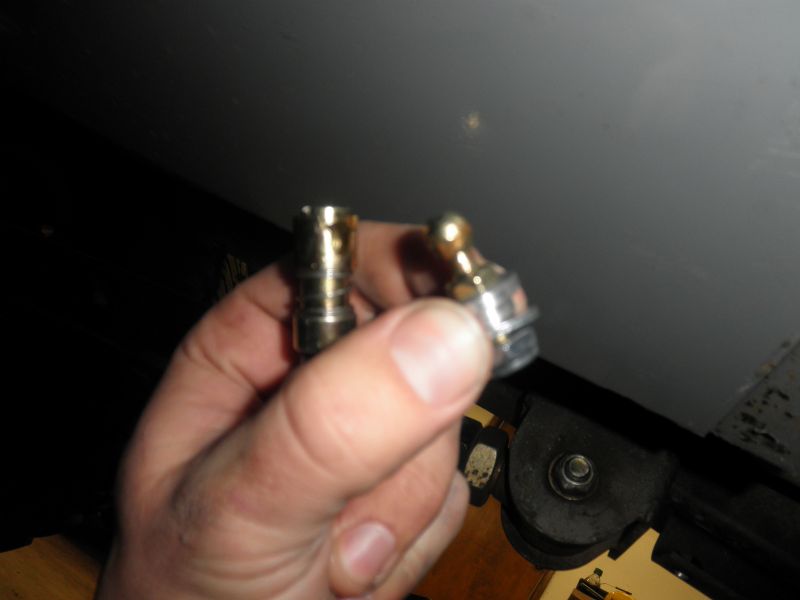
This is a neat little ball and socket end for the stock end of the shifter cable. The ball end installs onto the stock shifter, the socket threads onto the cable. Connect the two by pulling the spring collar back and pop that sucker on.
The other end is a very effective pin and clevis type of connection. This in itself is a huge improvement over the old style.
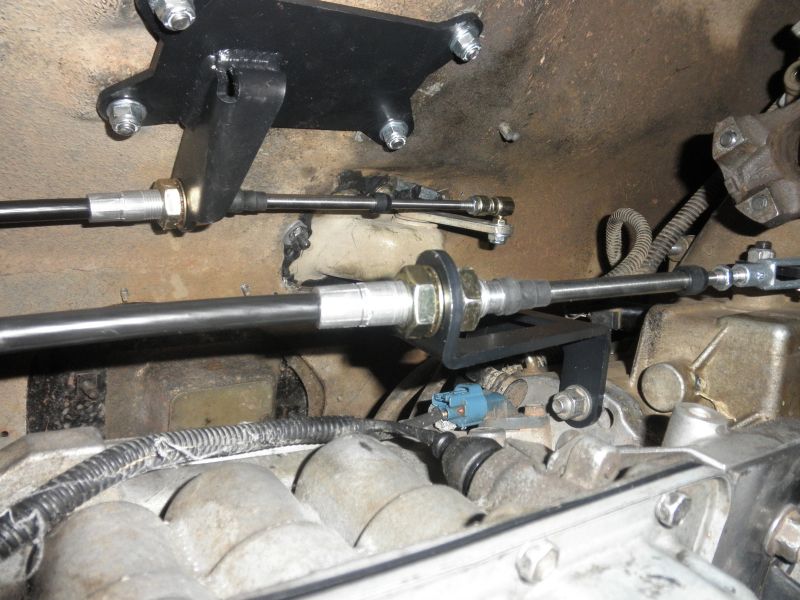
Here it is all connected (without the shaft). Now you can adjust the cable which again is so easy and reinstall your shaft.
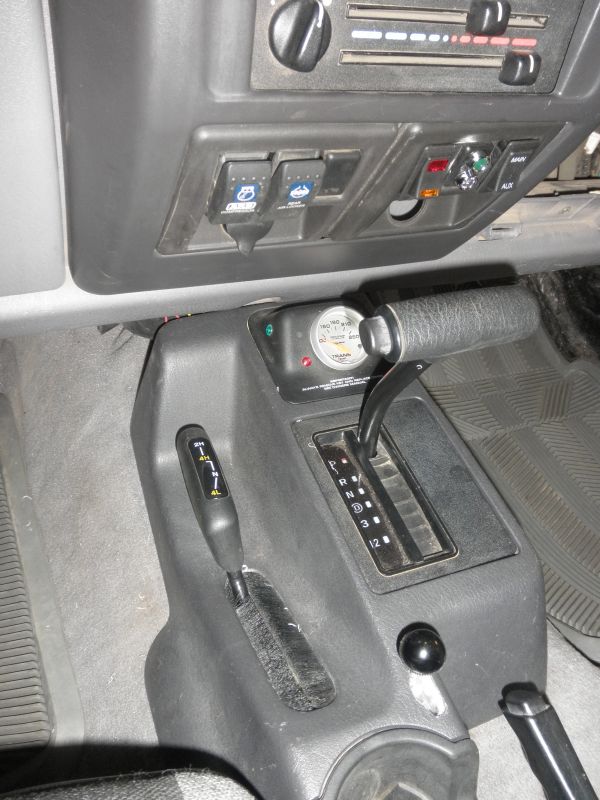
All installed. If your jeep has the stock linkage in it when you begin your install, you don’t even have to remove your center console. One thing I choose to do was to cut the gate out of the stock shifter. Reason is that I have a Tera 2 low in this case. After positioning the cable to my liking, Neutral landed mid-gate and I did not like this. The Dremel tool with a reinforced cutting wheel made quick work of this.
Initial impressions:
I will skip my normal excited “farm-talk” and keep it clean. This is a super improvement over what I had in there before. People come over, I make them get in the Jeep and shift it before they are allowed to go in the house, I am thrilled. Very smooth, shifter only inhibited by the inner workings of the transfer case.
Tim :o)