Jim dropped me a note a while back and asked if I would be interested in some pictures and his comments in regards to his changing out the fuel pump in his TJ. I thought it was an excellent idea and knew that others (including myself) could benefit from his experience.
So here is Jim’s pics and comments about his changing out his TJ’s fuel pump.
The install is pretty simple, I would say anyone with a friend willing to help along with a good jack, jack stands, socket set, and either a large strap wrench or we used an 18″ quick grip. Obviously try to run the Jeep until it is on fumes. Less gas = lighter tank.
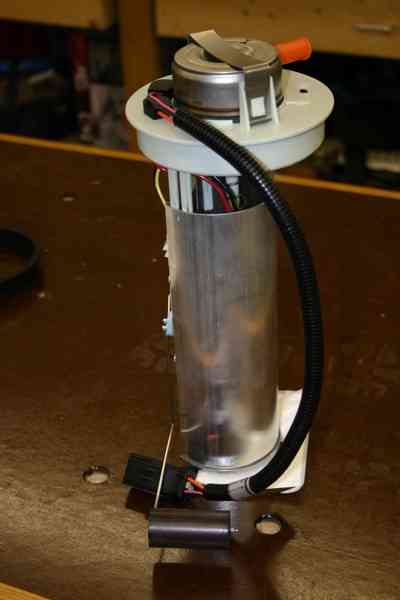
Here is a pic of the new fuel pump assembly sitting on the work bench. Everything from the white collar on down will be inside the tank (except for the wiring harness and connector) once the install is completed.
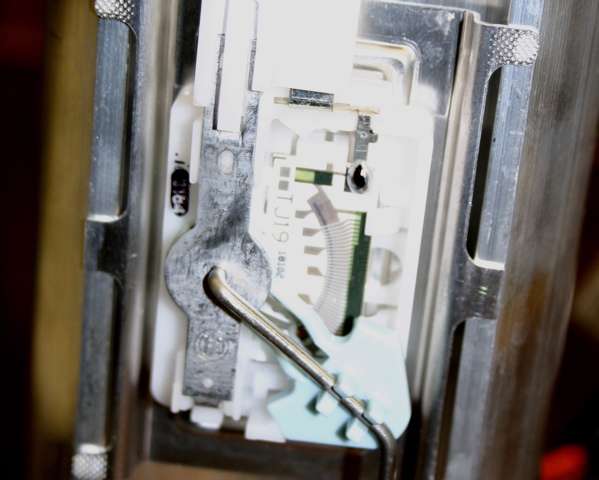
This is the fuel sender unit. You can see the TJ19 stamped on it (it is assumed this indicates it is for the 19 gallon TJ tank).
Start by disconnecting the battery and getting the rear end of the Jeep safely lifted up fairly high. Remove the plastic push pin holding the rear drivers side tub corner flap in place. You can then fold it downward to gain access to the hose clamps on the gas filler neck and vent line. There were 3 zip ties that needed to be cut up in there that held the axle vent line in place and tied everything together.
After getting the hoses removed from the filler cap, you can proceed to take the bolts off that secure the tank in place.
There are 3 along the front of the tank, two near the center area of the tank and one off to the passenger side.
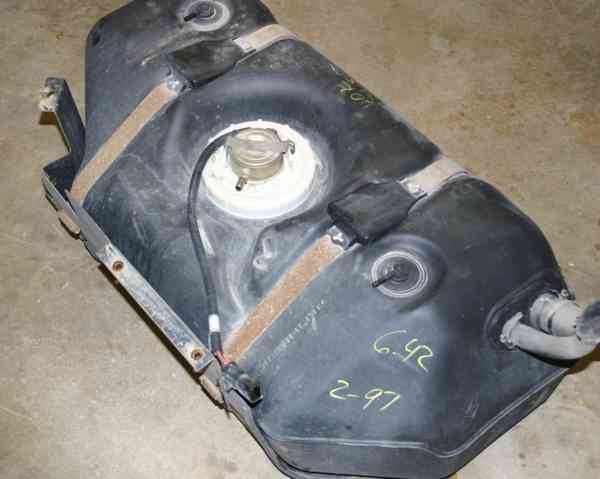
There is 4 along the back of the skid plate. There are also two fairly long bolts with rubber caps on them which do NOT need to be removed. The tank, straps, and skid plate all come off as a complete bolted together assembly as seen in the above picture.
Have someone either lay on the ground under the tank if it is pretty empty to hold it in place when the bolts are coming out. Once all 7 bolts are out it should be free to start coming down. Have your buddy make sure the fill and vent lines do not get hung up on the tub. After it is down about 6 or so inches it will start to hang up on the wires, fuel, and vent lines.
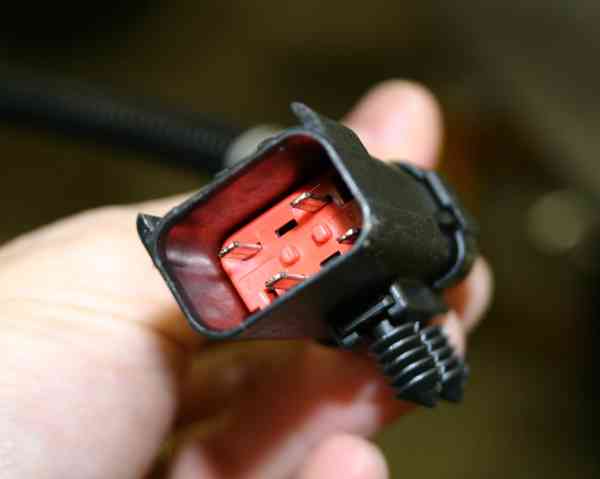
Here is what the electric connector, containing the power leads and the tank sensor wiring, looks like this when disconnected. Your friend can then reach in and pull off the 2 rubber vent hoses from the tank. Then unsnap the wiring harness and pull it apart. At this point the tank should be free to drop out of the TJ.
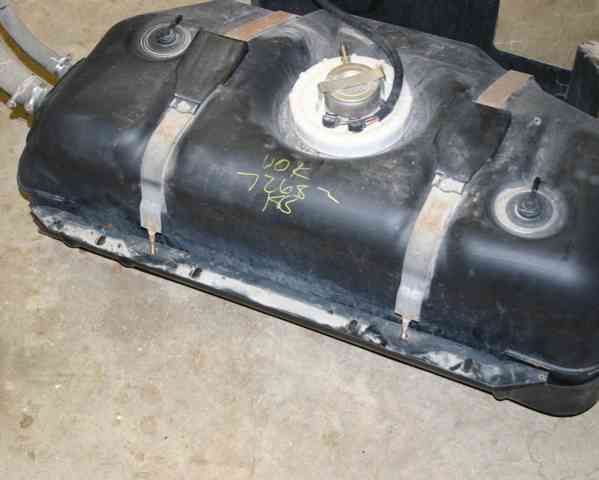
Once the TJ’s tank is on the ground is when the fun really starts. The “lock ring” is an appropriate term and it is an absolute pain to remove. The lock ring is the white collar in the picture below.
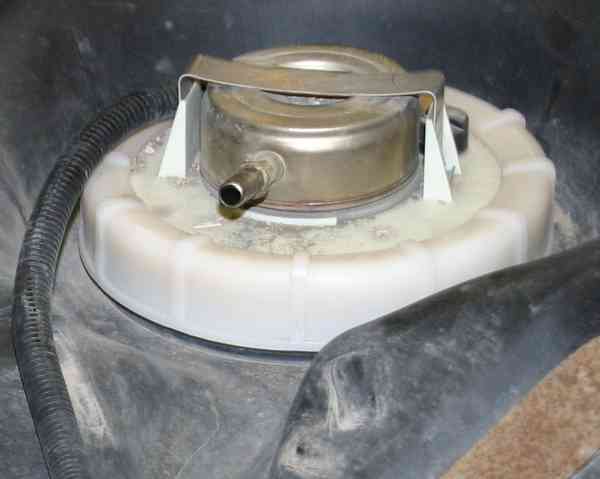
We used a quick grip that had about a 10″ or so jaw opening on it. Clamp that bugger down on it as tight as possible and turn it slowly. It is standard thread and will eventually come off. Once that is removed the pump assembly can pulled up and out of the tank. Make a mental note of the orientation of the pump, have no idea if it makes a difference or not, but there was an arrow on mine that pointed towards the rear of the tank. Have a bucket handy as to it is more than likely full of gas and will spill all over the place.
Now the new pump assembly should plop right down in the tank and you can put the ring back on. We put some lithium grease on the threads of the ring to help it go back on easier and hopefully come off for the next guy without so much effort.
Once the new pump is in the tank is ready to be reinstalled. Get it up close so your friend can hook up the vent lines and guide the filler hose and such back into the tub corner. The electrical can be hooked back up at this time along with the fuel line. Once everything is plugged back together it can be raised up all the way. It was kind of a pain to get it all lined up with the 7 bolts but it is doable. Just get a couple started and jockey it around to get the rest straight. Once it’s all tightened back up start working on the filler and vent hoses. Get them slid back on as far as possible and put the pipe clamps back in place. Put a couple three new zip ties back in there to hold things out of the way and to keep your rear axle vent upright. Reattach the tub corner flap back in place and get ready to try out the new pump. Reconnect the battery and give it a shot. Mine was horrible to start the first time. Took about 6 or 7 tries and then it didn’t really want to run, but after it got a full supply of fuel it has been great since.
Hope your install goes as good as mine,
Jim