If you have read some of the other axle or drive shaft articles on this site, you have probably noticed that I use one of those handy little Harbor Freight (HF) U-Joint tools (they also do ball joints quite well too!)
After having used one for more than a year, I ran into a u-joint task while doing my Warn hub conversion kit. I found that the Warn alloy inner shafts and the hardened outer stub shafts made for a very tight fitting u-joint install. I spent more time installing the u-joints then I did the rest of the hub conversion. While doing so, I learned a couple of easy tricks that I’ll pass along to you since it makes doing regular axle shafts easier as well.
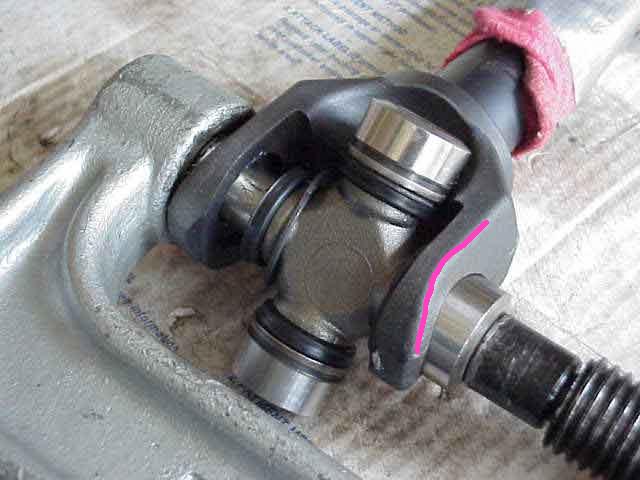
In the picture above, you can see the line I traced on the Warn yoke. Since the outside of the yoke is not flat (both sides are curved the same), it is difficult for the fixed end of the HF tool to stay in place when you start screwing it tight. It will slip a bit and then you end up pushing the cap in at a slight angle and everything gets bound up tight (been there, done that, skipped the t-shirt). Scott K. and myself struggle with this issue for a while when we worked on the Warn hub conversion project.
On about cross shaft #3, we finally go an idea (DOH!). If we could keep the large opening of the clamp centered on the yoke, things would not get out of alignment and the bearing caps would press onto the u-joint shafts much easier.
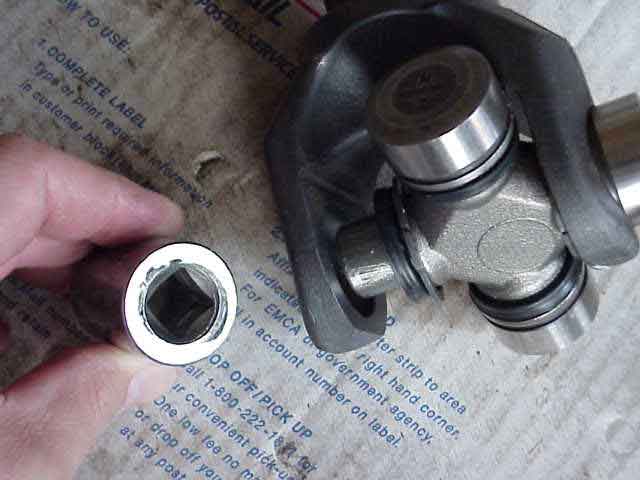
The solution was a Craftsman 7/8″ half inch drive socket, as shown in the photo above. In this picture, I am just getting ready to push the bearing cap into the yoke (on the right side of the picture). I have slide the u-joint as far to the right as possible so that it is just into the needle bearings inside the bearing cap. (you don’t want one of the bearings to fall over because you will have to take it all apart and do it over again….right after you almost got it all together!)
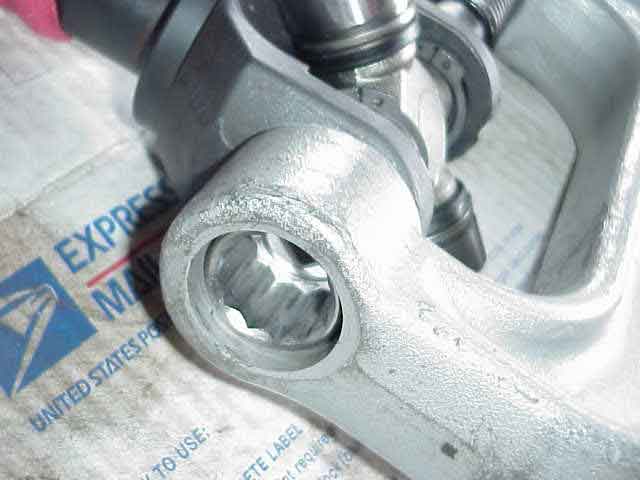
As you can see here, the 7/8″ socket just fits into the hole in the yoke. Also, the end of the u-joint (in this case, it is a 297 Spicer) fits into the 1/2″ drive indentation which also helps center the u-joint in the middle of the yoke opening. There won’t really be be any pressure being applied to this socket so if you want it to stay pushed up against the u-joint shaft, you will need to push on it (or have a friend’s extra pair of hands do this). As you can see, since the socket is inside of the yoke opening, it will serve as a guide for the u-joint tool and keep the large opening centered over the yoke hole. Then, as you push the u-joint in from the right hand side, the socket will push itself out through the opening in the u-joint tool.
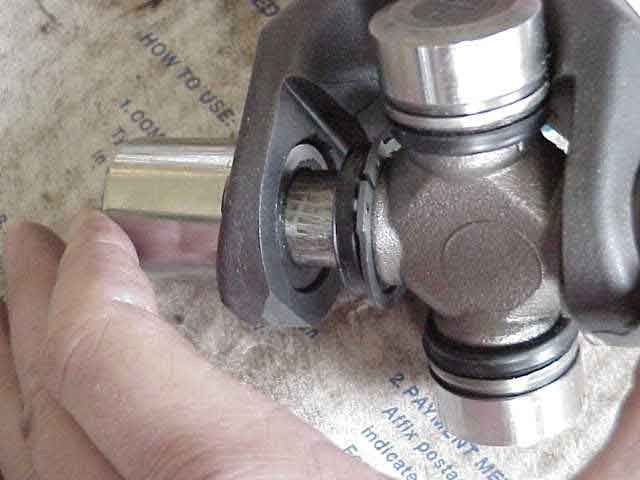
Here is a picture showing how well the socket keeps the HF tool centered in position. Keeping things aligned like this when tightening the screw on the u-joint tool goes a long way in making this entire task just a bit easier.